Sunday 30 March 2014

Completed: The Skull Pansy Skirt...

Another FO? Stevie are you feeling ok?
Yes friendlings I have been sewing up a storm. This is another piece for my SWAP! I call it the Skull Pansy Skirt.
This is Simplicity 2258. A pattern I have had eons and never used. Why? I'm not quite sure but I wanted something simple in design to show off my awesome fabric.
Which fabric you say? Only my freakin' skull pansy fabric. Behold...
I have hoarded this for soooo long. I bought it on one of my first trips to Goldhawk Road years ago and I haven't been brave enough to cut into it until now. 
Its a cotton sateen so its buttery soft, little stretchy but stable enough for just about anything!
 Yes lovely people there is skulls inside the flowers! This fabric felt a bit too avant garde for me for a while but by using it on a separate its actually surprisingly easy to co ordinate.
 The amount of colours in the skirt make it busy but easy to pick out. Hence why its the cornerstone fabric of my SWAP. I can go into pinks, purples, blues, whites, greens, yellows. You want a colour? This print probably has it. As for the skulls, its punky without being in your face. I like that about it. I don't dress like a goth, its just not how I roll. I love colour and this made it a happy medium.
 Did I mention how much I love pockets. This is such a clever construction and to be honest the pockets are the most complicated this skirt gets. The back view is pretty boring but like I said, showcasing the print. The skulls are random as are the flowers so some are upside down and some aren't. This meant there is no particular way up on the print. Hence why very little matching occurred it was just too complex and random a print.
Stats:
Fabric: Goldhawk Road Pre Jan 2014 Therefore £0.00
Notions: Elastic in stash £0.00 Thread in stash £0.00
Total: £0.00
Wearability: 8/10
I think I'm cheating a bit calling it a free skirt. I had plenty of fabric left over so I could guess I paid about £20 for 3m making this about £8's worth. I think its super wearable and like nothing I would get on the high street so I'm pretty happy about that. Plus the elastic waistband makes it comfy too!
Do prints like this make feature garments in you're wardrobe?

Tuesday 25 March 2014

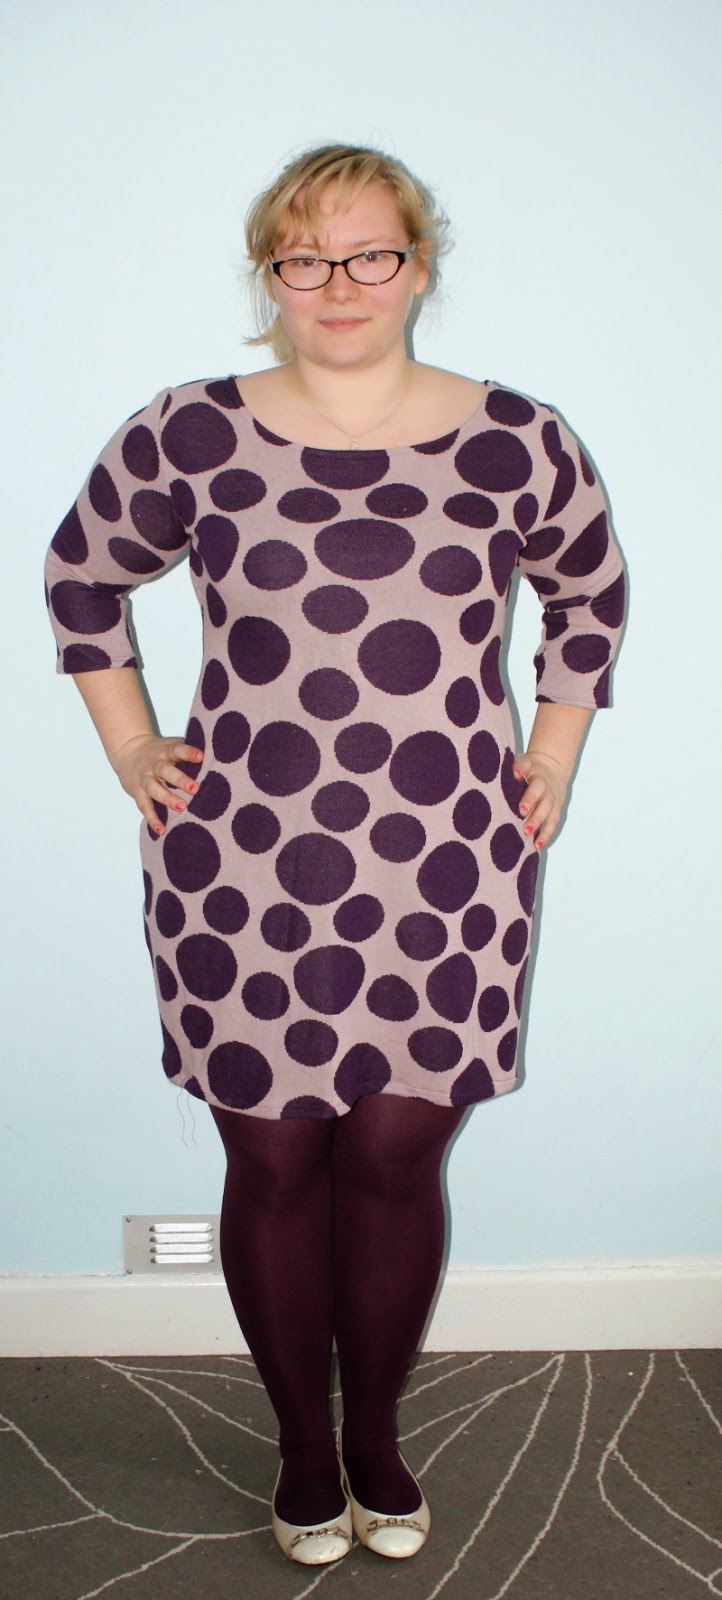
Completed: French Theme... Deer and Doe Plantain

Bonjour again friends! I seem to have gone a la Francais this week. I have whipped up a Deer and Doe Plantain. This snazzy little t-shirt is a Free PDF! How awesome is that. I've seen gazillions being made on the interwebs and I decided to have a go... Pixel is still confused by this whole photo thing...
 Anyhoo this top is drafted soooo well. I love the neckline depth and the deep U shaping. Its very flattering for me and the waist actually fits! This happens rarely with me as there is such a difference between my bust/hip measurements and my waist.
 Nope Pixel is still not getting it...
The fabric came from a swap and I fell in love with it there is a kind of geometric pattern inside the minty coloured leaves and the base colour is a mossy green. Not a fabric i'd normally go for but its more flattering on than I anticipated.
God I love that back, my swayback is deep again to do with the waist issue this pattern glides over it really well.
Stats:
Fabric: Free from a swap £0.00
Notions: From Stash £0.00
Total: Freakin Free!!!
Wearability: 10/10!!!! I can see me making hundreds of these. Indeed another will also be gracing the blog soon!
I leave you with Pixel finally getting to grips with this photo thing!

Saturday 22 March 2014

Completed: Oui Coco!

Here's my Coco for Tilly's Coco Party! I whipped it up toute de suite last night. Those on Instagram will have seen it in a much bigger incarnation. This is such a speedy project and great once you get the fit right for you! I can't wait to make the funnel top version.
 I actually bought this fabric on a blogger meetup with Tilly herself. I didn't know why I wanted it but I'm glad I did. You guys this dress is so comfy! Perfect with tights. I had some serious adjustments to get the fit I wanted but my waist is disproportionately smaller than the rest of me. I don't seem to do the sack thing well. Next time I won't cut such a large size. Simples!
Stats:
Fabric: Double knit from Goldhawk Road Say £8 for 2m I still have leftovers
Notions: Thread from Stash
Wearability: 8/10 Its a little short for me but with leggings or tights its just the job!
Total: £8! Not bad for a comfy dress.
Pixel wanted in on the party, and he bought teddy too!
We had a little boogie in Tilly's honor! This dress? Perfect for dancing! Happy Saturday Everyone!

Wednesday 19 March 2014

SWAP 2014: How it's going...

Hi Lovelies, Thanks for the kind comments on my Coppelia. I see many more in my future. Although there are so many awesome new patterns out at the moment I don't reckon it will be anytime soon.
I have however used it for one of my garments in Artisan Square's Annual SWAP Challenge. I have briefly blogged about it here and here in my Resewlutions. I'd really like to finish this one so i've been using some of my Minerva garments within my plan.

This time they have asked for 11 garments. 3x3 pac's and two wildcards.
This was my original plan:
Smart to Casual:
Archer Shirt
Moss Skirt
Hawthorne OR Bellatrix Blazer

Rainy Days:
Minoru Jacket
Auberpine Dress
McCalls 6708 Cardigan

Home Comforts:
Virginia Leggings
Coppelia Cardigan
Colette Zinnia

Wildcards:
Vogue 8685 Dress
McCalls 5974 Dress
I have made big changes to this plan. I realised I didn't have the time to make two shirts, two jackets and three dresses in the time. So I had a rethink and came up with this second plan. The ticks are garments finished or just needing tiny finishes like hems. The scissors are those cut or in progress.
 I changed it up a little taking out the garments that would slow down the process. Its not perfect, I still have to check if Home Comfort is allowed two bottoms if they co-ordinate with each other, but i'm happier with the sets. I think they are things I will genuinely wear.
The revised SWAP consists of
Smart to Casual:
Archer Shirt
Simplicity Lisette 2211
Papercut Coppelia Cardigan blogged here

Rainy Days has turned to Sunnier Climes and has been renamed:
Deer and Doe Plaintain tee
Simplicity 2258 Skirt
By Hand LondonVictoria Blazer

Home Comfort is still going to change, not sure how yet:
Megan Nielsen's Virginia Leggings
Briar blogged here
Colette Zinnia Skirt

Wildcards
McCalls 5974
By Hand London Georgia Dress blogged here

I have so far completed 7 garments. I'm in the middle of the Archer and I intend to cut my skirts and plantain tonight. There is a month left to complete. Here's hoping I can make it!


Tuesday 18 March 2014

Minerva Blogger Network: Papercut Coppelia

 This is my second project for Minerva's Blogger Network. For this I chose to use their Purple Knitted Textured Slub 'Carnival' Designer Dress Fabric. Thats a lot of words to describe this awesome fabric! Its strange, like a series of ribbons woven together with metallic strips. Whatever it is, I was drawn to it straight away!
I thought the fabric deserved something simple to show it off so I opted for Papercut's Coppelia Cardigan. This pattern is a breeze to put together, all in all I think it took around 2 hours to make. Lovely speedy project! I'm happy with the result and it looks great with fuller dresses! I did take these photos with a pair of jeans on, but the styling just didn't work. I think if I added length to it then it would look fab with jeans and things but on my bodyshape it looked blurgh!
I chose to just tie the bands but there have been some lovely versions of this like Nettie's at Sown Brooklyn and Rachel's at House of Pinheiro that do a faux wrap. I think when I make this next time (and there will be a next time) I may try that out. Other changes i'm considering are making the sleeves smaller, for some reason they drowned me a bit, shortening the arms, (I like sleeves over my hands but not quite as much as that) and creating a buttonhole opening inside to slide the fabric through as you would a wrap dress. 
I only glanced at the instructions so that may have been in there... Lazy sewist alert!
If you're after a quick speedy project you can do no wrong with this one. Its also a really handy garment to have around! I find myself grabbing it before I go out the door. Its just enough warmth without being too heavy, perfect for layering! I have lots more jersey in the stash waiting to be a Coppelia!

Friday 7 March 2014

Tutorial: PDF Pattern Assembly

There has been so many new pattern releases recently and a bigger and bigger percentage of these patterns we use are being offered as PDF Patterns. These are the patterns that are downloaded on your computer, that you print out on your home printer. The pages are tiled and taped or glued together to form large pattern sheets.
I thought it might be nice to share how I put these together. I've been working with PDFs more and more recently and have developed a pretty speedy way of getting them together fast, ready to sew.
 First up you need some tools. Nothing complicated just:

  • Some Tape - I buy cheap small dispensers like this because they are easy to cut.
  • Scissors - Not your fabric ones but some normal paper ones
  • Ruler - All will be revealed
  • Pattern weight of some kind - I have these ribbon ones made from washers but tins or cutlery would work just fine!


Step 1:
 Each piece of A4 has a black line on all four edges marking the edge of the pattern. To speed up my process, I fold instead of cut these lines, using my ruler to make sure I fold the line accurately.

Step 2:
 Each of these lines is marked with a letter and a number. Match the corresponding combinations and put those pages together. I like to fold the left piece and leave the right unfolded so I have a support behind my tape. This is where the pattern weight comes in really handy. I like to put one or two on the line, so when I get my tape I don't nudge it out of place.

Step 3:

 Grab some tape and apply it to the line. You will want to use tape on the pattern pieces themselves, but I don't bother about the bits of paper around the pattern piece.

Step 4:
 Step 4 just illustrates what I mean. We are going to cut the pattern pieces out of the large sheet, why tape the bits your going to waste?

 Step 5:
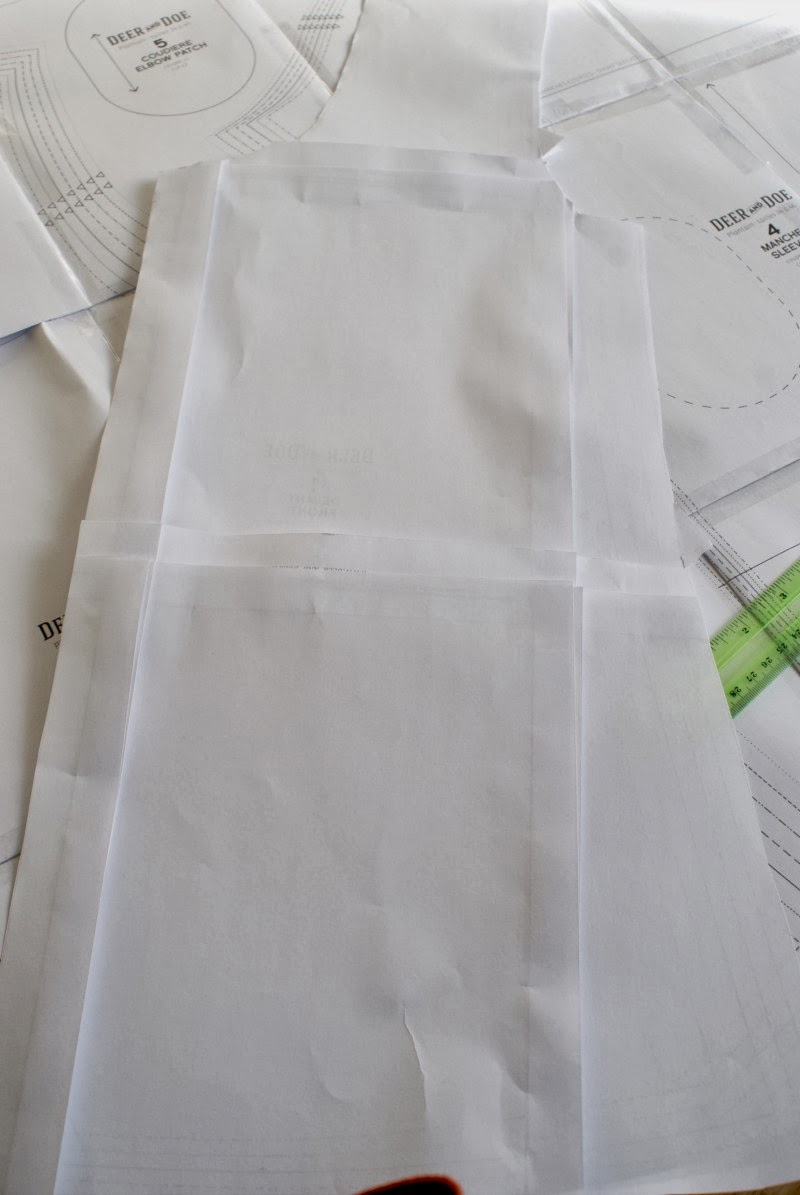
Cut it all out! Cut out your pieces in your corresponding size. This can usually be found on the PDF you downloaded. This is what my pattern looks like from the back. Nice and sturdy, ready to use!
Have you got any tips or tricks for cutting your PDF Patterns?